
October 24th, 2017
How to increase property enquiries for less than $50
Property Management
Property Management

Want to know the secret to taking great real estate photos?
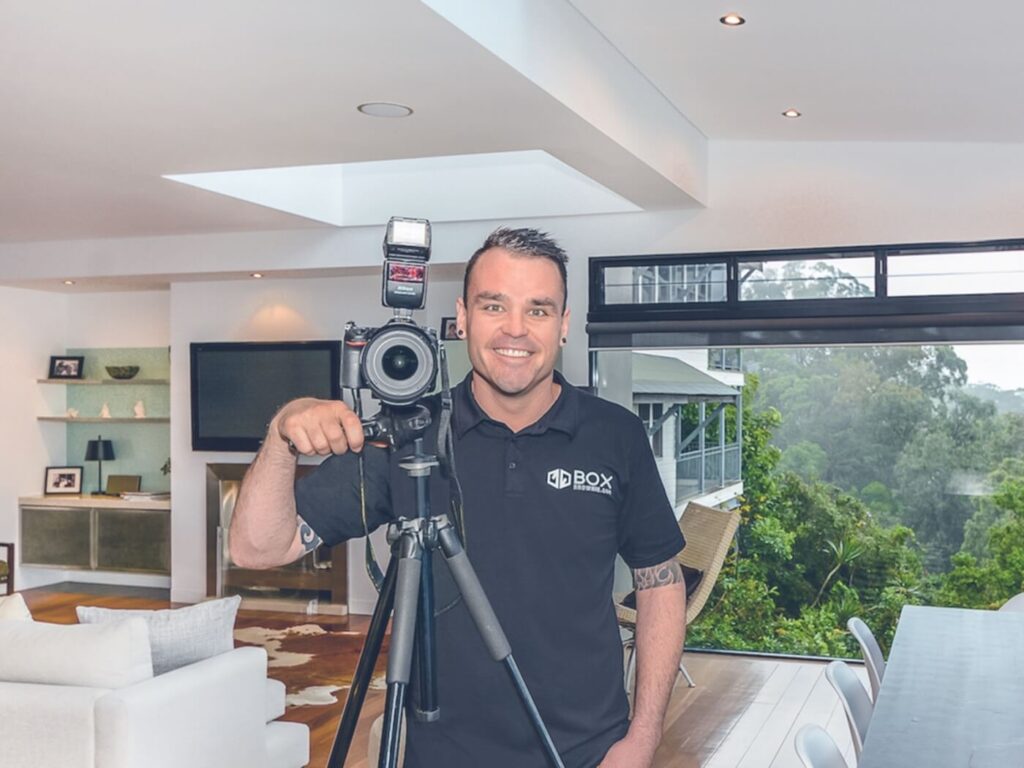
Last month, we caught up with Brad of BoxBrownie.com, a photo editing website that offers a wide range of services to real estate agents and developers alike. With over 15 years of real estate photography experience, Brad has a deep understanding of what it takes to showcase a home in the best light.
Let’s dive right into Brad’s guide to taking great real estate photos (full transcript below):
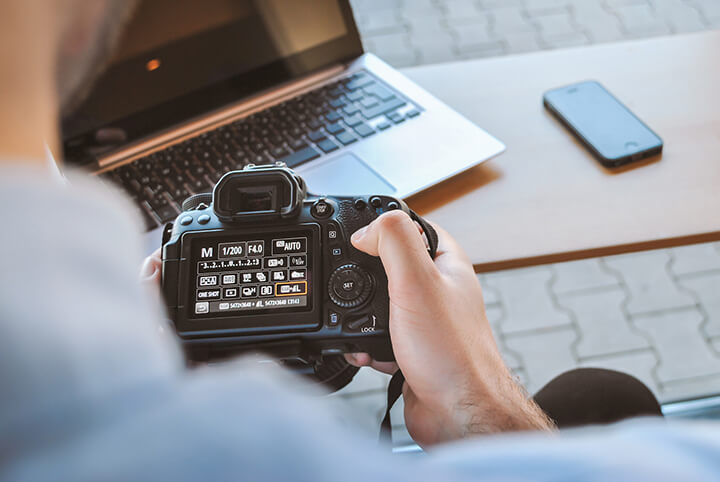
First thing’s first, let’s talk about camera equipment. Here are Brad’s essentials:
A quality DSLR or compact camera such as the Canon EOS M3 is a great investment. While smartphone cameras are quite sophisticated now, a quality camera can take higher resolution images with different lenses and multiple exposures of the same shot.
“The higher resolution the image, the better quality editing we can do to it.”
A sturdy tripod is “essential for taking multiple exposures.” By taking multiple exposures of the same shot, you can merge them together to showcase the view outside of a window or doorway.
An external flash “will always help lighten and brighten the shot.” However, avoid using flash when shooting in bathrooms or kitchens that have a lot of reflective surfaces.
A wide angle lens that’s about 12mm on a crop sensor camera body. This ensures that your real estate photos are representative of the space and more realistic.
“You don’t want the space to look bigger than it is or buyers and renters will think you’re trying to misrepresent the property.”
Read the rest of Brad’s list of essential camera equipment for agents and property managers.
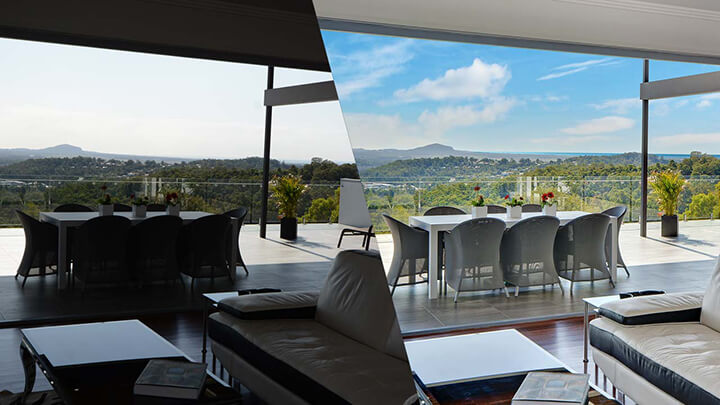 Image credit: BoxBrownie.com
Now that we have the equipment sorted, let’s start snapping some real estate photos. Here are five pro tips to help you take the perfect shot:
Ensure that the property is prepared prior to the shoot so you can get through it as quickly and efficiently as possible. This means cleaning mirrors and windows, adjusting curtains and blinds, removing any personal or unwanted items, straightening furniture, opening doors and turning on lights and lamps.
Also, be sure to walk around the property beforehand and plan your shots so that you’re not wasting any time between shots. Here’s Brad’s pre-photography checklist to help you out.
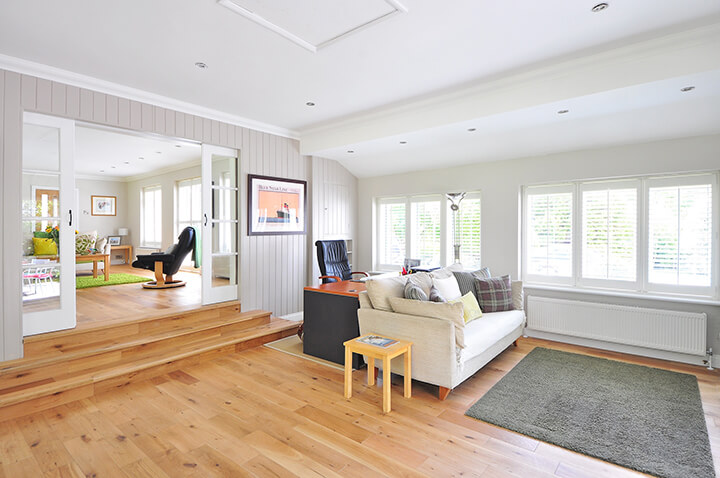
This ensures that you’re providing a realistic view of the interior of the property. When potential buyers and renters are walking through the property, head and shoulder height is the view that they would have.
As you’re aiming for realistic results, make sure you’re using a lens no wider than 12mm. While it’s tempting to go lower and opt for 10-11mm lenses, they can make the room look very large and unrealistic.
“You want the photos of the property to look similar to the property in real life to manage the expectations of buyers and renters.”
It’s important to keep the sun behind you when you shoot so there aren’t any dark areas in the shot. This is especially great for when you’re shooting the front of the house.
Additionally, if you encounter less than ideal weather when you’re shooting, it might actually make for a great real estate photo. For example, photos taken on an overcast day have no real harsh sunlight and shadowing in the shot. This makes editing the photo and replacing the sky in Photoshop much easier.
When you’re preparing the property for the shoot, be sure to open up sliding doors and doors to outdoor patio areas to create more depth and space. It makes the room feel more spacious and open.
Ever wonder how real estate photographers get the exterior view to look just as good as the interior? This is achieved by taking multiple shots on a tripod and merging them together in Photoshop.
“At a minimum, you want two photos. Take the first photo of the interior and get that exposed as good as you can. Then without moving the camera, you want to take a darker photo so the interior will look really dark but you’ll be able to see the view outside of the window – the patio, the grass, the sky. What we can do is merge those two photos together.”
Silvia: Hi Brad, thanks for joining us today. Can you tell us a little more about yourself and how you got into real estate photography?
Brad: Thanks for having me. So when I finished high school, I did a TAFE course in photography for at least a year. That was when I was offered a job in real estate. It was one of the best, if not the best, deep waterfront real estate agencies on the Sunshine Coast. It still operates today and does really well.
Between the two of those, working in his office for close to two years and a bit over a year at my course, I just fell into real estate photography. Back then, people weren’t really taking professional photos or the agents would have taken shots on film cameras, which is how I started as well. And since then, I’ve really progressed with technology. We have digital cameras and evolved our processes to innovate in the market.
A lot of real estate photographers can’t really say they started the same way. I remember dropping off the film off, getting them processed in an hour then dropping them off the photos at the office. That’s how I started.
S: Wow I had no idea that was how it all worked. So what does BoxBrownie.com do? More importantly, how did the name come about?
B: The Brownie camera was the first portable camera that you could buy off the shelf in the 1900s. Box Brownie was the nickname used because of its small portable shape.
At a minimum, BoxBrownie.com is a photo editing website with a focus on the real estate industry. Agents may have to take their own photos because they have no budget to spare then they can have it edited using our 16 step enhancement process for only $2. The result is a very professional looking real estate photo.
We can also modify professional photos or photos taken by individuals. For example, we can change the colour of the feature wall, remove the dirt or debris off a driveway, remove a car, remove all the furniture and virtually put furniture in etc. If it’s doable in Photoshop, we can do it for you at wholesale prices.
S: So photo editing is at the core of what BoxBrownie.com offers. Do you guys offer other property listing services?
B: Yeah, we have a lot of global clientele so we ensure all our real estate photos and assets are compliant to local legislation. For example, we never remove power lines or electrical boxes. Our clients really trust us with their real estate photos because of this industry knowledge.
In addition to that, we can do professional copy writing for listings. We have professional journalists and copywriters who work for us, so if agents aren’t very good at writing copy or don’t have the time, we can do that for them.
We’ve recently won a government tech grant for one section of our business which is 3D renders or artist impressions. A lot of builders and developers will use these images to sell something off the plan that’s not even built yet. Buyers can’t really visualise like we can so it’s great to show people what they’re looking at buying. The renders can really sell the dream.
S: That’s amazing. Congratulations on winning the grant! So if an agent was to take their own real estate photos, what equipment would you recommend they get?
B: At the moment we really see it all. Some agents take low resolution photos and some hire professional photographers. There are many ways to bake a cake. Smartphones are great these days – there’s the iPhone X and new Samsung – those are getting really close. We’re testing the latest smartphones at the moment but try to get the best quality digital camera you can get your hands on.
S: What’s a good camera brand to go for?
B: They’re all quite good these days. Just get a quality DSLR or compact camera. The higher resolution the image, the better quality editing we can do to it.
If you want to get a Canon setup, you can probably go to a camera shop and get the entire thing for close to $850 for a tripod, external flash and a wide angle lens. It’s the cheapest, most cost-effective setup that I know about that gives you real, professional results. The tripod is essential for taking multiple exposures.
S: So just to sum it up in terms of equipment, ideally agents should get a good quality DSLR, a tripod, external flash and wide angle lens.
B: You’re going to want a wide angle lens that’s about 12mm on a crop sensor body. While there are lenses that go down to 10mm, the 12mm lens shoots more realistic interiors. You don’t want the space to look bigger than it is or buyers and renters will think you’re trying to misrepresent the property. 12mm on a crop sensor is the way to go and an external flash will always help lighten and brighten the shot too.
S: Now that we have the equipment down pat, how would an agent go about taking the perfect real estate photo?
B: You really want to make sure the house is prepared before you get there. This is the most important thing. You should also walk around the property and plan your shots.
I also find that taking the photo from head or shoulder height is the best as you’re providing a realistic view of the property. Buyers and renters are walking through the home so head and shoulder height is the view that they would have. I’m not a big fan of the really low shots. They’re a bit like crawling around the property and no one does that. This is just personal preference of course.
Another thing is to not shoot too wide. You want the photos of the property to look similar to the property in real life to manage the expectations of buyers and renters.
Additionally, you would want to keep the sun behind you when you shoot so you don’t have any dark areas in the shot. This is especially great for the front of the house. We have a great Youtube channel that has lots of videos on how to take great real estate photos too. Also, overcast days can be good too as it’s a lot easier to balance the light that way, especially when agents are just taking a single shot, you’ll have no real harsh sunlight and shadowing in the shot. Of course, in our editing, this makes replacing the sky a lot easier too.
Opening up doors is another good tip too. If you’re shooting inside and there’s an outdoor patio area, it’s always a nice idea to open all the doors up because it creates that inside-outside feeling. It makes it feel more spacious and open. It doesn’t feel as closed in.
S: Cool. Going back to what you mentioned about shooting multiple exposures so you can see the view outside the windows, what are your tips around this?
B: At a minimum, you want two photos. Take the first photo of the interior and get that exposed as good as you can. Then without moving the camera, you want to take a darker photo so the interior will look really dark but you’ll be able to see the view outside of the window – the patio, the grass, the sky. What we can do is merge those two photos together. A professional will take roughly five shots – all at different lights. Usually three of the inside and two of the outside. But we can get away with a minimum of two really well exposed shots.
S: Thanks so much for your time Brad! It’s been great chatting to you. I’ll leave a link to BoxBrownie.com down below for everyone to check out.
B: Awesome, thanks Silvia.
Hopefully you enjoyed Brad’s guide on how to take great real estate photos. Be sure to check out BoxBrownie.com for all your real estate photography and property listing needs!
If you’re looking to upgrade your software, PropertyMe is game-changing cloud property management software that you can access from anywhere, anytime. Check out our features or book a demo today.
You might also be interested in How to Increase Property Enquiries for Less than $50, 10 Essential Real Estate Video Marketing Ideas and Best Real Estate Video Apps.
Did we miss a real estate photography tip? Please let us know in the comments below.